How to Carve a Pumpkin Worksheet
Pumpkin carving can be an enjoyable and creative activity for both kids and adults alike. If you're searching for a helpful tool to guide you through the pumpkin carving process, our pumpkin carving worksheet is just what you need. This worksheet provides step-by-step instructions and tips on carving the perfect pumpkin, making it suitable for individuals who are new to pumpkin carving or those who want to improve their skills.
Table of Images 👆
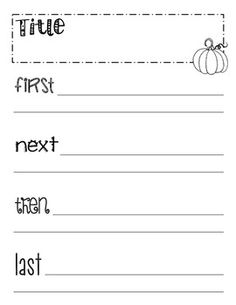
 Procedural Writing Worksheets
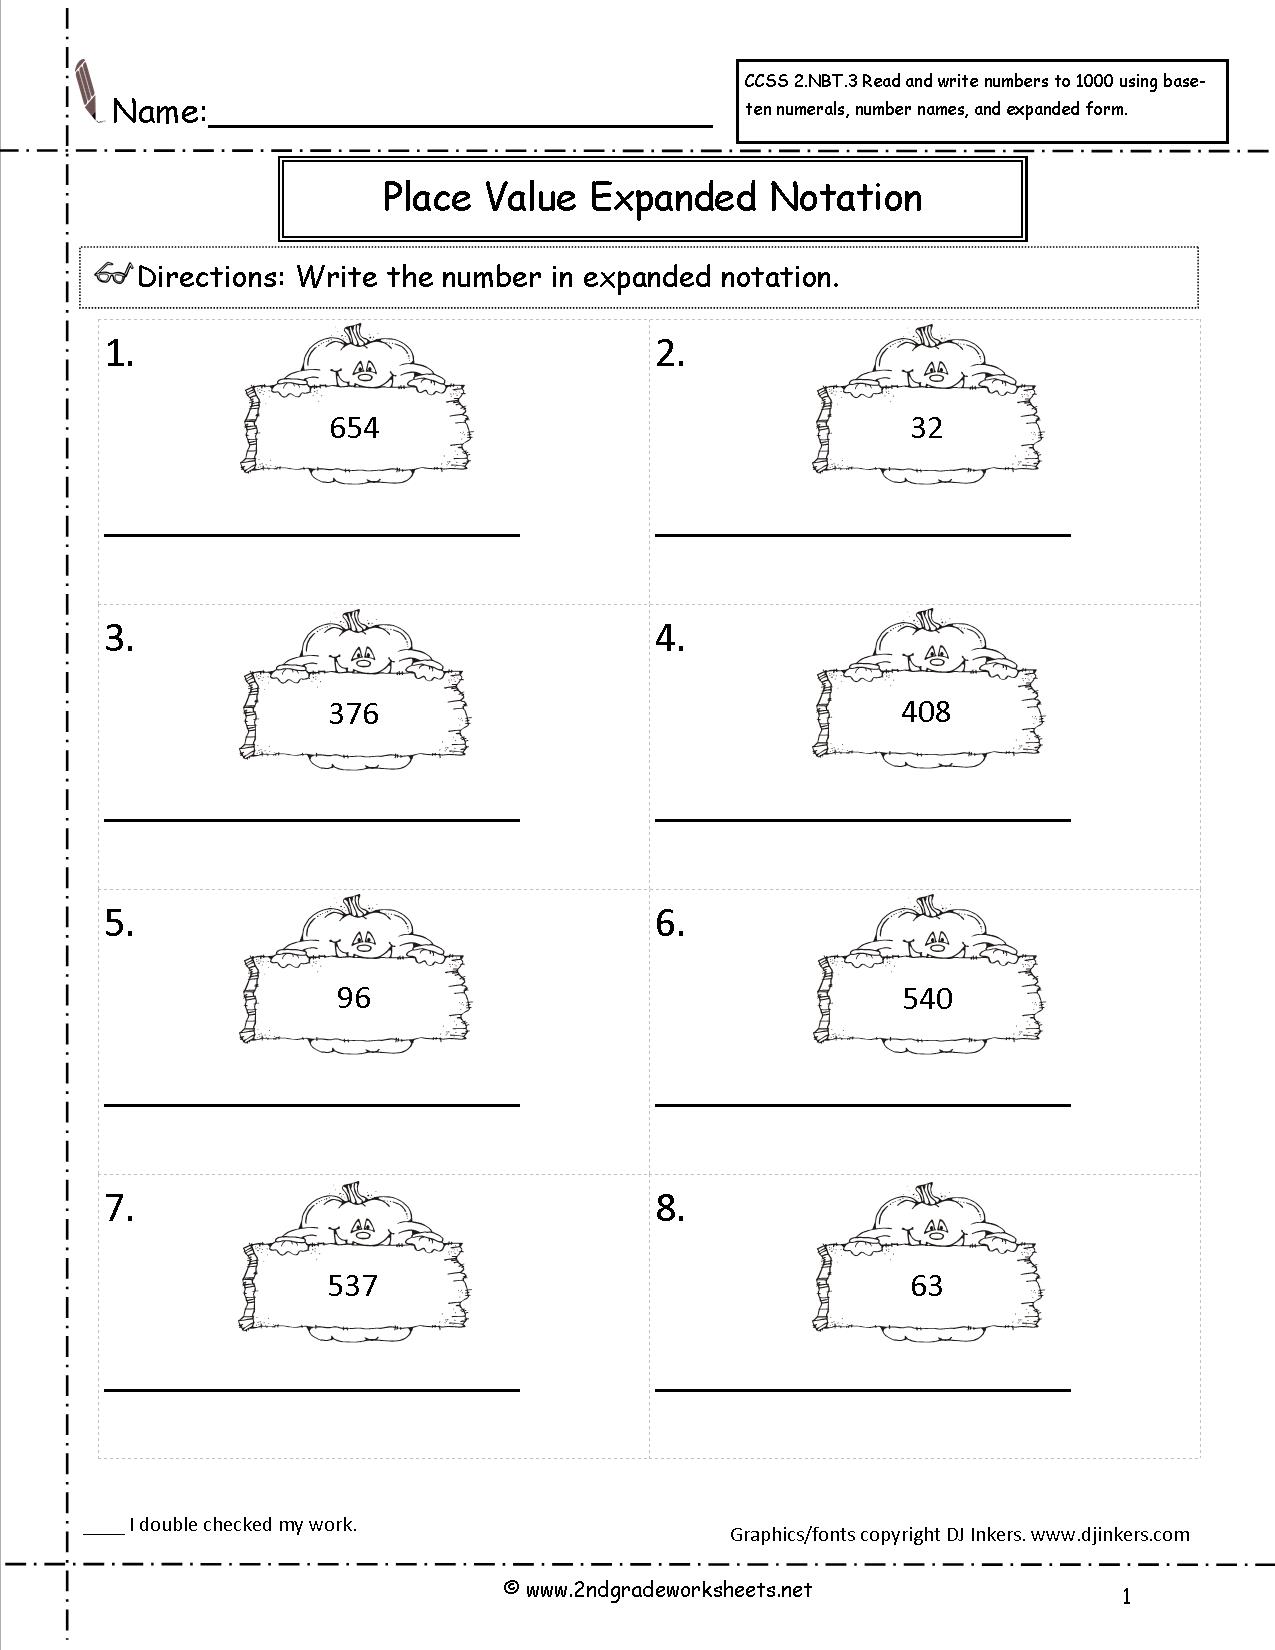
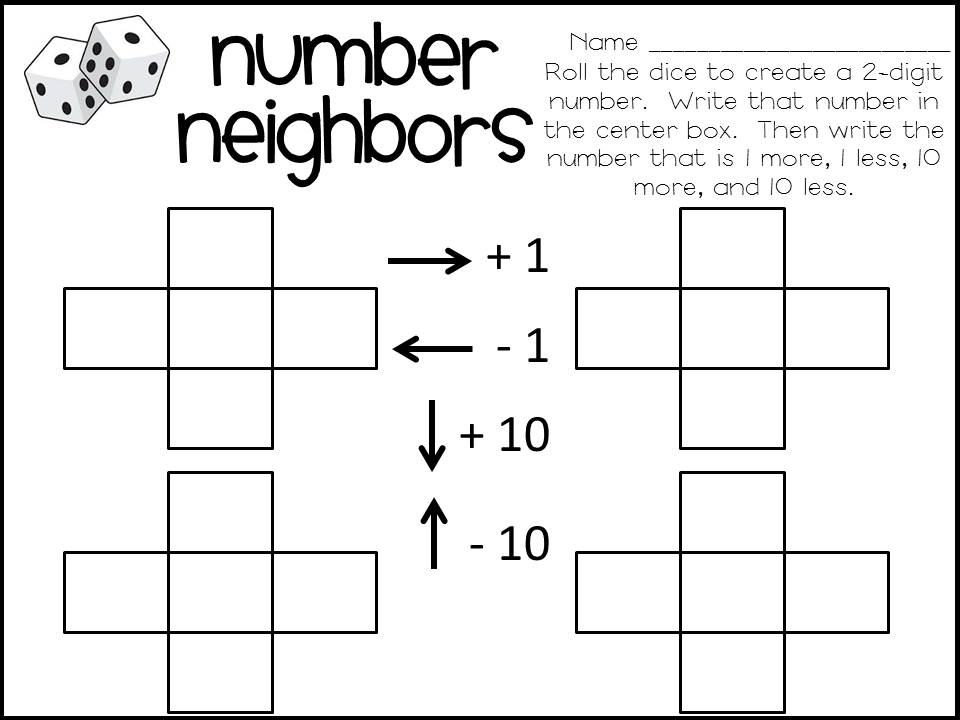
 Expanded Form Addition Worksheets
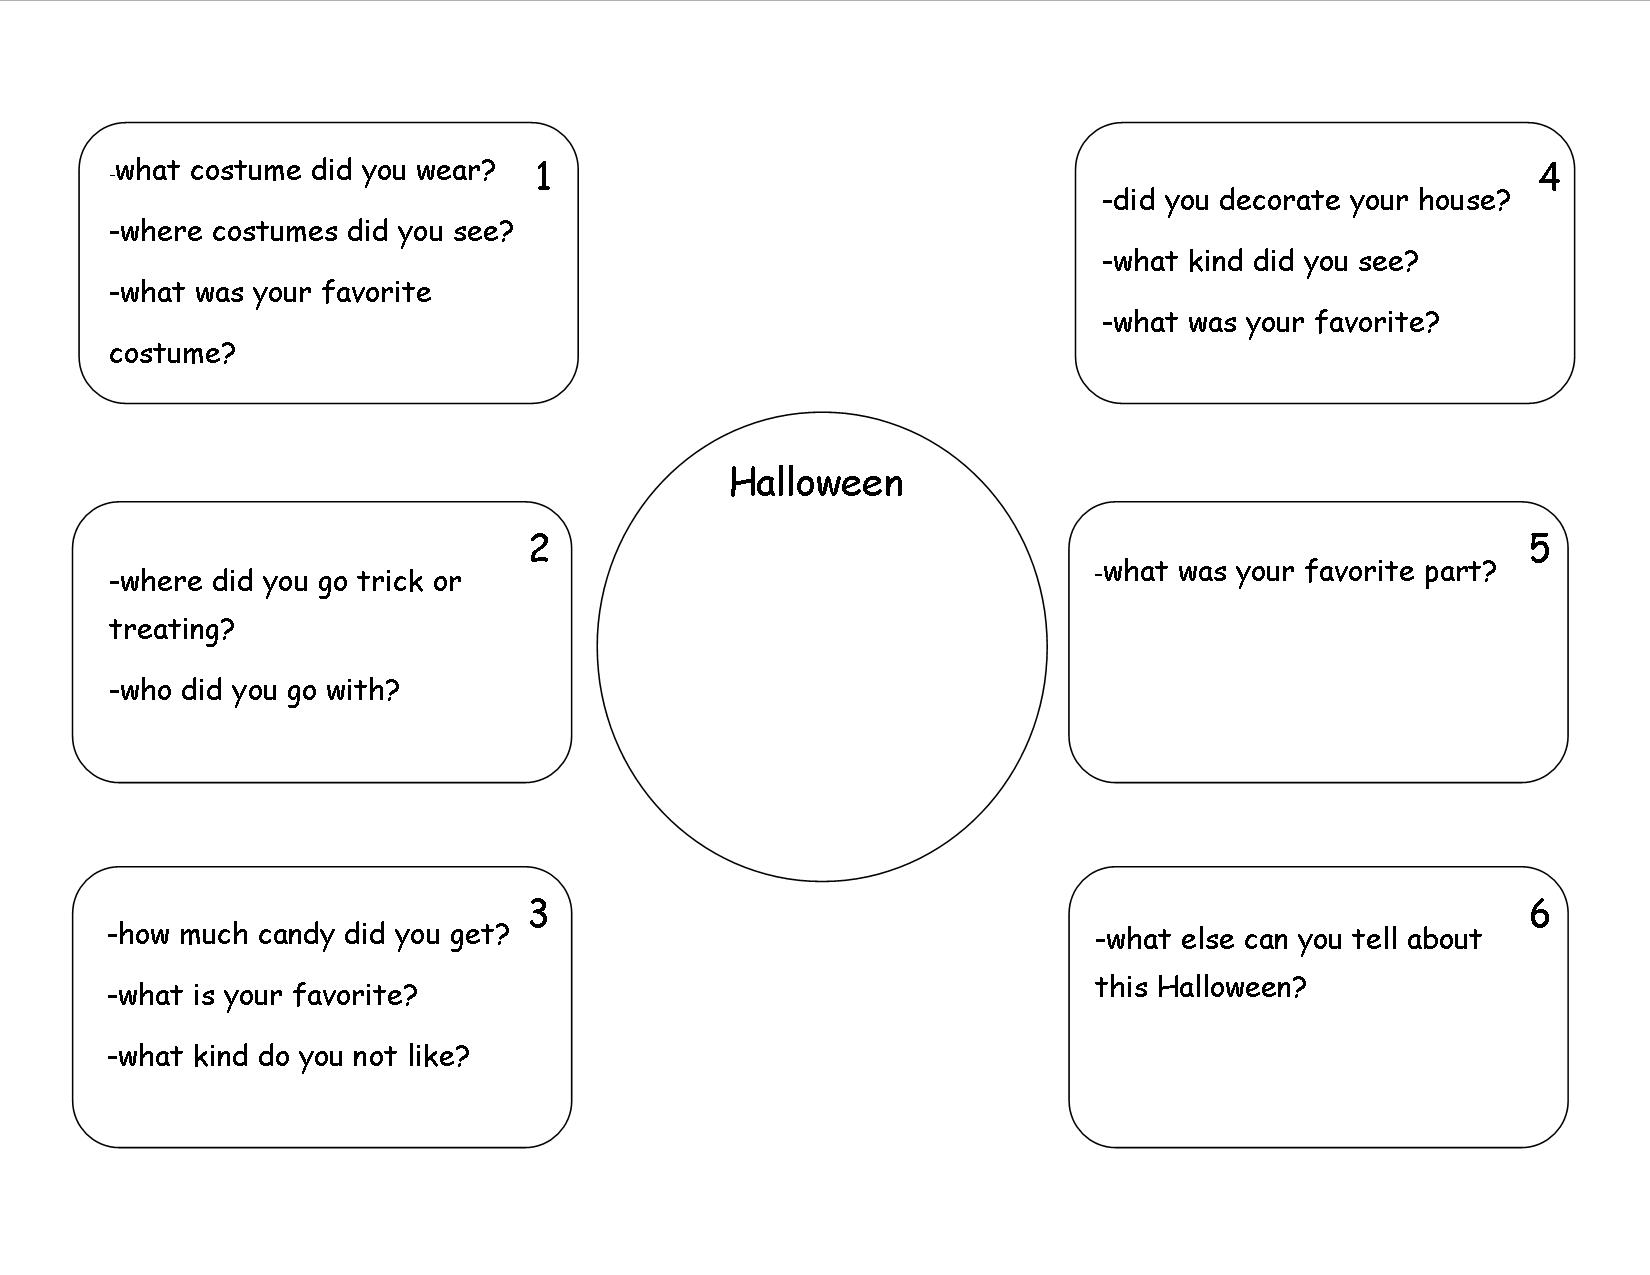
 Halloween Worksheet Grade 2
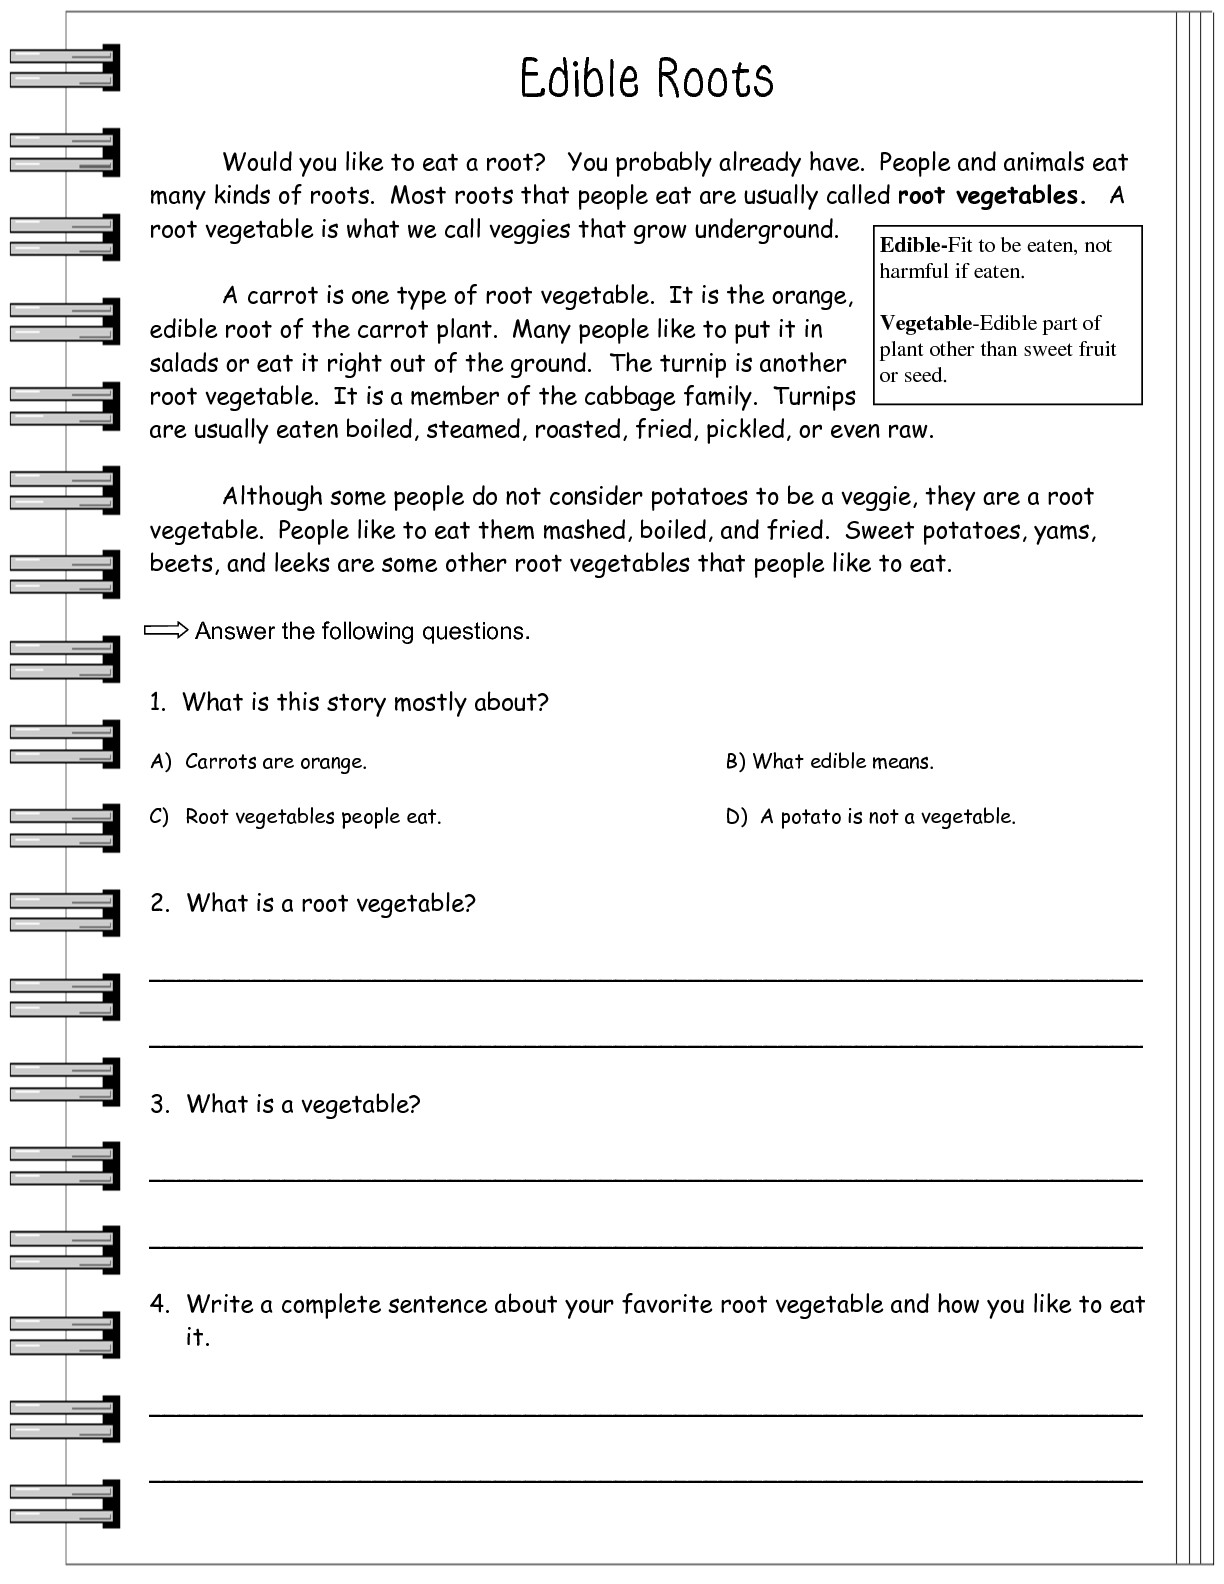
 Reading Informational Text Worksheet
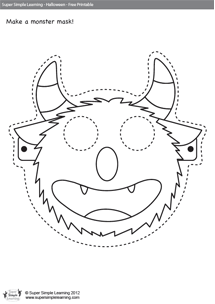
 Monster Mask Template for Kids

 Ninja Turtle Coloring Mask

 How to Make a PB & J Writing

 How to Make a PB & J Writing

 How to Make a PB & J Writing

 How to Make a PB & J Writing
 How to Make a PB & J Writing

 How to Make a PB & J Writing

 How to Make a PB & J Writing

 How to Make a PB & J Writing

 How to Make a PB & J Writing

 How to Make a PB & J Writing

 How to Make a PB & J Writing

 How to Make a PB & J Writing

 How to Make a PB & J Writing
More Other Worksheets
Kindergarten Worksheet My RoomSpanish Verb Worksheets
Cooking Vocabulary Worksheet
DNA Code Worksheet
Meiosis Worksheet Answer Key
Art Handouts and Worksheets
7 Elements of Art Worksheets
All Amendment Worksheet
Symmetry Art Worksheets
Daily Meal Planning Worksheet
What is the first step in carving a pumpkin?
The first step in carving a pumpkin is to cut a hole at the top of the pumpkin around the stem to create an opening for cleaning out the inside and carving the design.
What tools do you need to carve a pumpkin?
To carve a pumpkin, you will need a sharp knife or pumpkin-carving tool set, a spoon or scoop for removing the seeds and pulp, a marker or pencil for outlining your design, and optionally, a stencil for more intricate designs.
How do you scoop out the inside of the pumpkin?
To scoop out the inside of a pumpkin, first, cut off the top or bottom to create a lid. Use a large spoon or ice cream scoop to remove the seeds and strings, scraping the walls to create a clean interior. Be gentle to avoid damaging the walls of the pumpkin, and discard the removed seeds and pulp in a bowl or compost bin.
What should you do before starting to carve the pumpkin?
Before starting to carve the pumpkin, it's a good idea to gather all the necessary tools such as a sharp knife, spoon, marker, and newspaper to protect your work surface. It's also recommended to carefully plan your design by sketching it out on the pumpkin and deciding where to carve before cutting into it. Finally, make sure to scoop out all the seeds and pulp from the inside of the pumpkin before beginning to carve to make the process easier and cleaner.
How can you create a design on the pumpkin before carving?
To create a design on a pumpkin before carving, you can use a pencil to sketch your desired design directly onto the pumpkin's surface. Another option is to use a washable marker to draw the design, which can easily be wiped off if needed. Additionally, you can use stencils or templates to trace the design onto the pumpkin for more intricate patterns. Once you have the design outlined, you can then proceed with carving the pumpkin following the lines you created.
What is the best technique for cutting into the pumpkin?
The best technique for cutting into a pumpkin is to first carefully cut off the top or bottom of the pumpkin to create a flat surface. Then use a sharp, sturdy knife to carefully slice through the pumpkin from top to bottom or vice versa, working in sections to avoid any slips. It is important to apply even pressure and take your time to ensure a clean and safe cut.
How can you ensure that the pumpkin lid stays in place?
You can ensure that the pumpkin lid stays in place by using toothpicks or small skewers to secure the lid onto the pumpkin. Simply stick the toothpicks or skewers through the lid and into the pumpkin to hold it in place. Additionally, carving a notch in both the lid and the pumpkin can also help lock the lid in place.
What are some safety precautions to take while carving a pumpkin?
When carving a pumpkin, some safety precautions to take include using a sharp knife and cutting away from yourself, carving in a well-lit area to see better, avoiding placing your hand inside the pumpkin while cutting, and supervising children if they are helping with the carving to prevent any accidents. Additionally, consider using pumpkin carving tools or kits with safer options such as serrated blades or poking tools instead of sharp knives.
How can you preserve a carved pumpkin for longer?
To preserve a carved pumpkin for longer, you can soak it in a bleach solution (1 tsp bleach per gallon of water) for a few minutes to kill bacteria and mold, then thoroughly dry it. Next, rub petroleum jelly or vegetable oil on the cut edges to seal in moisture. Store the pumpkin in a cool, dry place when not on display, and spray it with a bleach solution every few days to prevent mold growth.
What are some creative ideas for displaying a carved pumpkin?
Some creative ideas for displaying a carved pumpkin include using a drill to create a pattern of holes throughout the pumpkin, placing a small candle inside to create a beautiful glowing design; using multiple pumpkins of varying sizes to create a pumpkin family or stacking them to create a tower; mounting a carved pumpkin on a wooden stake or post to create a whimsical pumpkin totem pole; or using a pumpkin as a planter by hollowing it out and adding soil and plants to create a unique and eye-catching display.


Have something to share?
Who is Worksheeto?
At Worksheeto, we are committed to delivering an extensive and varied portfolio of superior quality worksheets, designed to address the educational demands of students, educators, and parents.


Comments