Making Shadows Worksheet
Are you a teacher or parent looking for a fun and educational activity to teach your students or children about shadows? Look no further! Our Making Shadows Worksheet is the perfect resource to engage and educate young minds about the fascinating world of shadows.
Table of Images 👆
 Shadow Worksheets for Second Grade
 My Shadow Worksheet
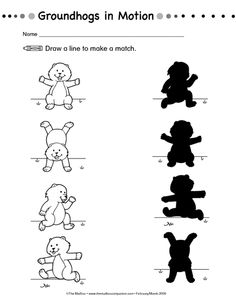
 Groundhog Day Math Worksheets

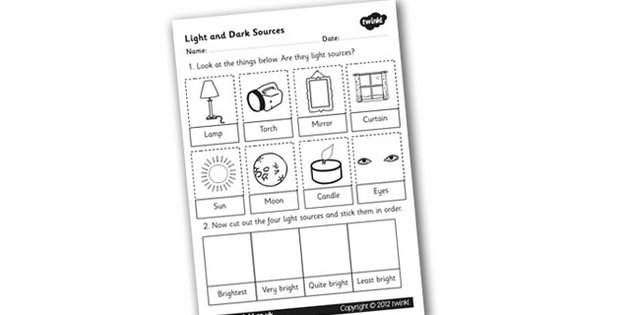
 Shadow and Light Worksheets
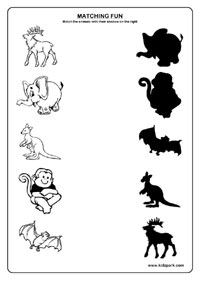
 Shadow Matching Worksheets
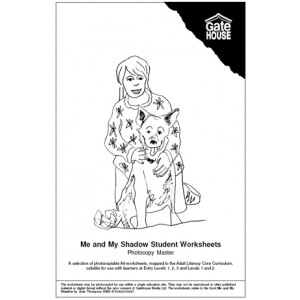
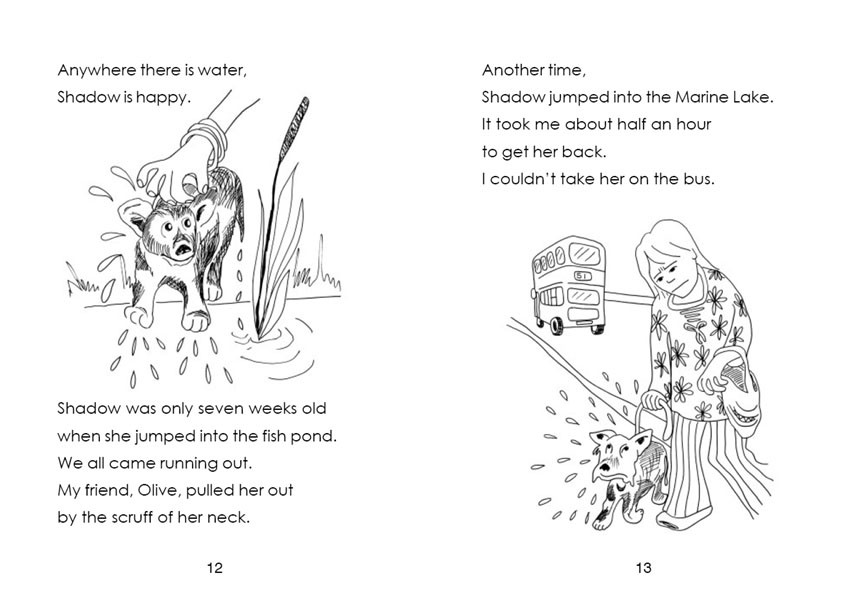
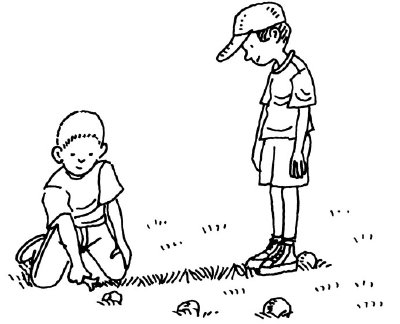
 Adult Literacy Worksheets
 Shadow and Light Worksheets
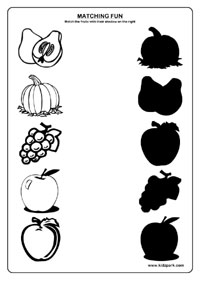
 Shadow Matching Worksheets
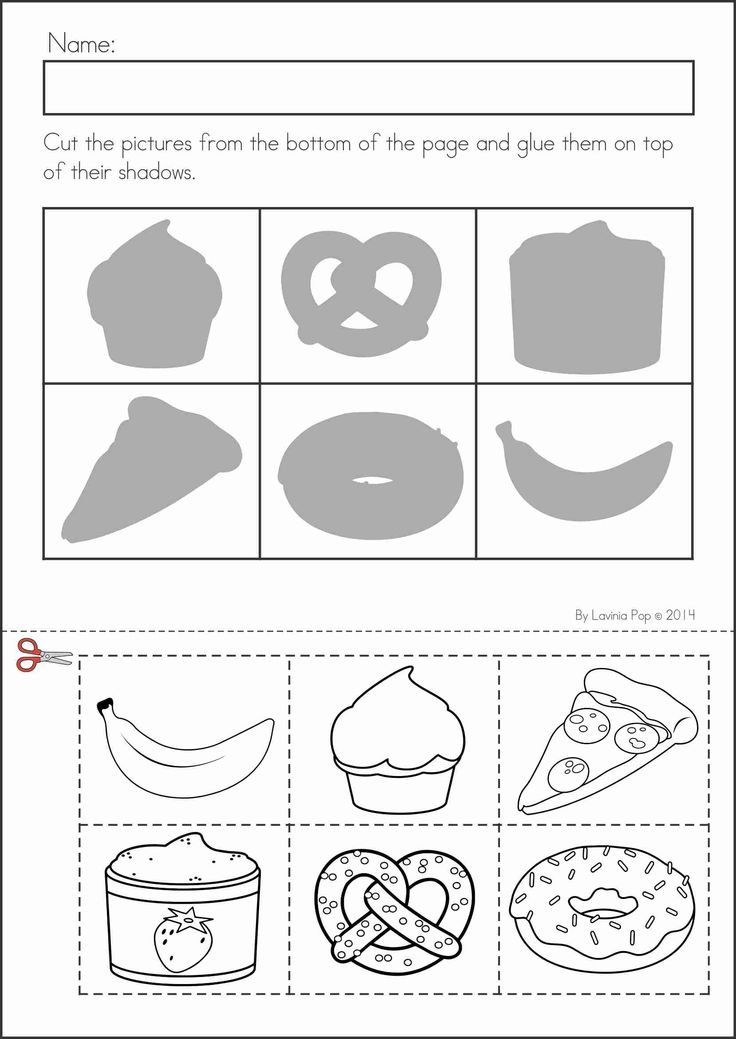
 Kindergarten Cut and Paste Math Worksheets
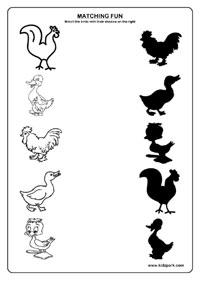
 Simple Birds Worksheets
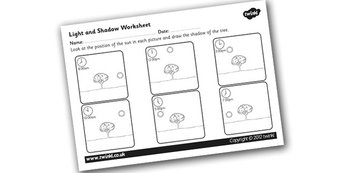
 Light and Shadow Worksheet for 1st Grade
 Sun Shadow Activities
 Shadow and Light Worksheets
More Other Worksheets
Kindergarten Worksheet My RoomSpanish Verb Worksheets
Cooking Vocabulary Worksheet
DNA Code Worksheet
Meiosis Worksheet Answer Key
Art Handouts and Worksheets
7 Elements of Art Worksheets
All Amendment Worksheet
Symmetry Art Worksheets
Daily Meal Planning Worksheet
What is the purpose of the Making Shadows Worksheet?
The purpose of the Making Shadows Worksheet is to help students understand the relationship between light sources, objects, and the shadows they create. By engaging in activities on the worksheet, students can explore how the position and orientation of objects relative to a light source affect the size, shape, and position of the shadows cast. This helps develop their understanding of the principles of light and shadow in a hands-on and visual way.
What materials are needed for the activities?
The materials needed for the activities include various items such as paper, markers, glue, scissors, tape, paint, brushes, clay, pencils, pens, rulers, and any special materials specific to the activity being undertaken. It's essential to check the activity guidelines or instructions for the specific materials required, as they can vary depending on the task at hand.
What are the steps involved in creating shadows with a flashlight?
To create shadows with a flashlight, follow these steps: 1. Position the flashlight in front of the object you want to shadow. 2. Ensure the light source is shining towards the object with a clear distinction between light and shadow. 3. Adjust the angle and position of the flashlight to manipulate the size and intensity of the shadow. 4. Experiment with different distances and angles to achieve the desired shadow effects. 5. Remember that closer light sources create sharper shadows, while farther light sources produce softer shadows.
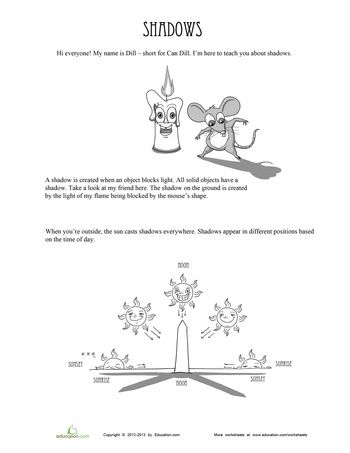
How does the direction of light affect the size and shape of shadows?
The direction of light affects the size and shape of shadows. When light is directly overhead, shadows will appear smaller and have clearer outlines. But as the light source moves closer to the horizon, shadows become elongated and less defined due to the stretching effect. Additionally, the angle at which light hits an object can also cause shadows to change in size and shape as the object can cast different lengths and distortions depending on the position of the light source.
What happens to the shadow when objects are moved closer or further away from the light source?
When objects are moved closer to the light source, their shadows become darker and more defined. Conversely, when objects are moved further away from the light source, their shadows become fainter and less distinct. This is because the intensity of the light decreases as the distance between the object and the light source increases, affecting the clarity and visibility of the shadow.
How can you create different shadow shapes using your hands or objects?
To create different shadow shapes using your hands or objects, you can adjust the distance between the light source and the object casting the shadow, change the angle of the light source in relation to the object, or alter the shape and positioning of the object itself. Experiment with placing your hands or objects at different angles and distances from the light source to see how it affects the shape and size of the shadows they cast. Additionally, manipulating the light source itself, such as using a flashlight or moving a lamp, can also create unique shadow shapes.
What is the difference between transparent, translucent, and opaque objects when it comes to creating shadows?
Transparent objects allow light to pass through them easily, resulting in very faint or almost invisible shadows. Translucent objects partially allow light to pass through but also scatter it, creating diffuse and less defined shadows. Opaque objects do not allow light to pass through them, resulting in well-defined and solid shadows.
How can you manipulate the size and position of a shadow by changing the angle of the light source?
By changing the angle of the light source, you can manipulate the size and position of a shadow. When the light source is closer to the object, the shadow will be larger and softer. Moving the light source further away will create a smaller and sharper shadow. Additionally, changing the angle of the light source will alter the direction and length of the shadow, allowing you to position it in different ways relative to the object casting the shadow.
What are some real-life applications of understanding how shadows are formed?
Understanding how shadows are formed has a wide range of real-life applications. Some examples include: using shadows to track and predict the movement of celestial bodies for astronomy purposes, using shadows to determine optimal positioning for solar panels and buildings for efficient energy usage, and utilizing shadows in forensic science to analyze crime scenes and reconstruct events based on the position of shadows. Additionally, understanding shadows is crucial in photography and art for creating visually appealing compositions and adding depth and dimension to images.
How can you experiment with different light sources to create unique and interesting shadows?
You can experiment with different light sources by using objects such as lamps, candles, flashlights, or even natural light from windows at varying angles and distances to cast shadows of different shapes and sizes. You can also try using filters like colored gels or patterns to create more artistic and dynamic shadows. Play around with the intensity and direction of the light to see how it changes the shadows, and consider using objects with interesting textures or shapes to further enhance the visual effects. By being creative and open to exploration, you can discover new ways to create unique and captivating shadow patterns.


Have something to share?
Who is Worksheeto?
At Worksheeto, we are committed to delivering an extensive and varied portfolio of superior quality worksheets, designed to address the educational demands of students, educators, and parents.


Comments