Snowman Sequencing Worksheet
Are you a teacher or a parent looking for a fun and educational activity to help your children develop their sequencing skills? If so, then you're in luck! Introducing the Snowman Sequencing Worksheet - a fantastic resource that will engage and challenge young learners, while also reinforcing their understanding of the concept of sequencing.
Table of Images 👆
- Snowman Sequencing Cut an Paste
- Snow Prediction Worksheets
- Mitten Match Worksheet
- Martini Henry Artillery Carbine
- Gingerbread Man Template Printable
- Melting Snowman Coloring Page
- Preschool Winter Worksheets Printables
- Printable Graphic Organizers for Writing
- Goldilocks and the Three Bears Sequencing Activity
- Information Card Template Blank
- Text Structure Graphic Organizers
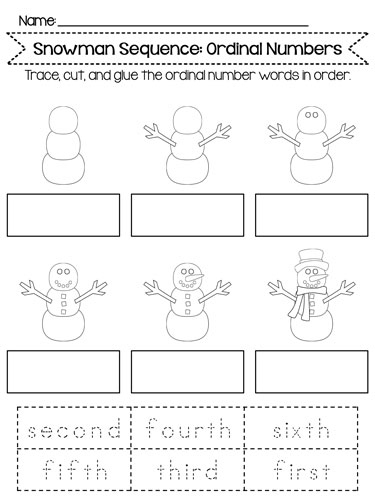
 Snowman Sequencing Cut an Paste
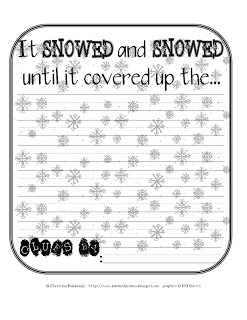
 Snow Prediction Worksheets
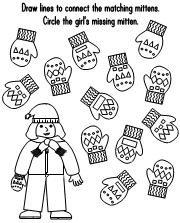
 Mitten Match Worksheet
 Martini Henry Artillery Carbine
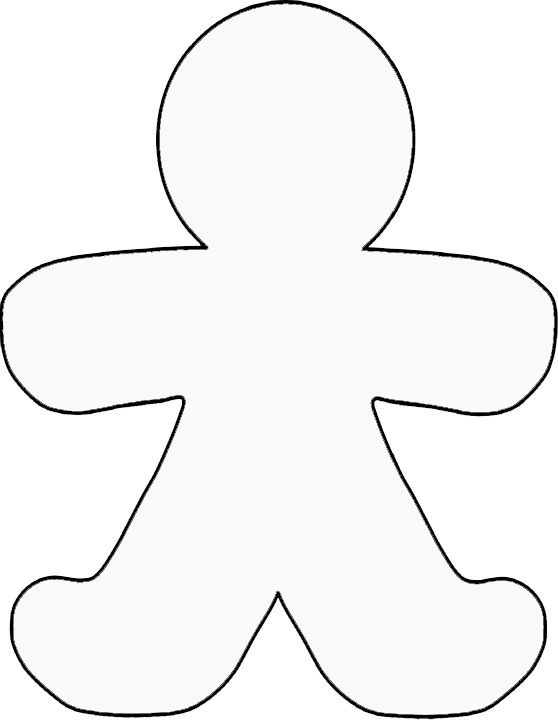
 Gingerbread Man Template Printable
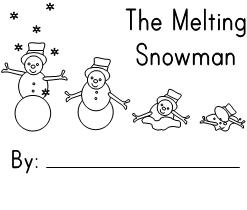
 Melting Snowman Coloring Page
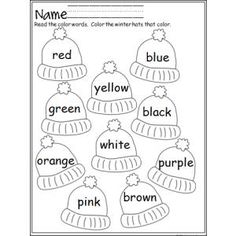
 Preschool Winter Worksheets Printables
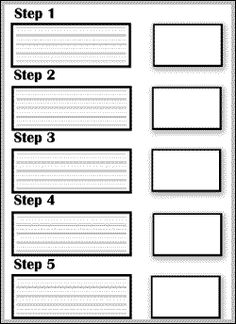
 Printable Graphic Organizers for Writing
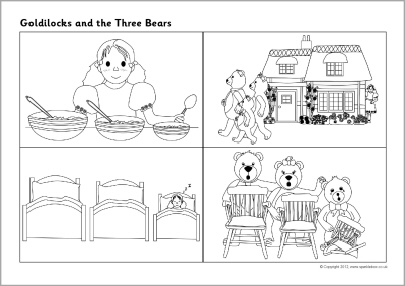
 Goldilocks and the Three Bears Sequencing Activity
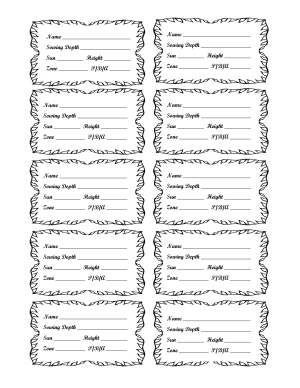
 Information Card Template Blank

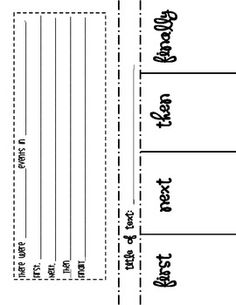
 Text Structure Graphic Organizers

 Text Structure Graphic Organizers

 Text Structure Graphic Organizers

 Text Structure Graphic Organizers
 Text Structure Graphic Organizers

 Text Structure Graphic Organizers

 Text Structure Graphic Organizers
More Other Worksheets
Kindergarten Worksheet My RoomSpanish Verb Worksheets
Cooking Vocabulary Worksheet
DNA Code Worksheet
Meiosis Worksheet Answer Key
Art Handouts and Worksheets
7 Elements of Art Worksheets
All Amendment Worksheet
Symmetry Art Worksheets
Daily Meal Planning Worksheet
What are the steps involved in building a snowman?
The steps involved in building a snowman include packing snow into three different sized balls (for the base, middle, and head), stacking the balls on top of each other, decorating the snowman with items like sticks for arms, a carrot for a nose, rocks for eyes and mouth, and a scarf and hat for added flair. It is also important to ensure the snow is wet enough to pack and hold its shape.
What materials are typically used to create a snowman?
A typical snowman is made using three large snowballs of different sizes, usually created by rolling snow into balls. These snowballs are then stacked on top of each other with the largest at the bottom, the middle one in the center, and the smallest on top for the head. Decorations such as buttons, a carrot for a nose, coal for eyes and a mouth, sticks for arms, and a hat and scarf are commonly added to complete the snowman's appearance.
How do you start building a snowman?
To start building a snowman, begin by rolling a large snowball along the ground to form the base of the snowman. Continue to roll smaller snowballs for the middle and top sections, stacking them on top of each other. Decorate your snowman with items like sticks, a carrot for the nose, buttons for eyes, and a hat or scarf. Have fun and be creative with your snowman building!
How do you shape the snowballs to form the body of the snowman?
To shape the snowballs to form the body of the snowman, start by packing a large snowball for the base, a slightly smaller one for the middle section, and a smaller one for the head. Roll each snowball on the ground to create a smooth and round shape, then stack them on top of each other, starting with the largest at the bottom. Use a stick or twig to secure them together vertically. Finally, add any additional features like arms, a face, a hat, and accessories to complete your snowman.
What size should each snowball be for building a traditional snowman?
Each snowball for building a traditional snowman should typically be in the following size range: bottom snowball should be the largest, around 3 feet in diameter, middle snowball should be medium-sized, around 2 feet in diameter, and the top snowball should be the smallest, around 1 foot in diameter. These sizes can vary depending on the desired height and proportions of the snowman.
How do you attach the different parts of the snowman together?
To attach the different parts of a snowman together, you can use sticks, twigs, or carrots as dowels to secure the sections in place. Alternatively, you can also use snow or a mixture of snow and water as a natural adhesive to help the parts stick together. It's important to pack the snow tightly and firmly when building each section to ensure a stable and secure connection between the parts of the snowman.
What do you use to create the facial features of the snowman?
To create the facial features of the snowman, you can use items such as coal or small rocks for the eyes and mouth, a carrot for the nose, and sticks for the arms. These traditional materials are often used to give the snowman a classic and whimsical appearance.
How do you add arms to the snowman?
To add arms to a snowman, you can use sticks or branches of appropriate length and thickness. Simply push the sticks into the sides of the snowman body at the desired height to create the arms. Make sure they are secured well to prevent them from falling off. You can also get creative by adding accessories like gloves or mittens to the ends of the arms for a fun touch.
What can be used to decorate the snowman, such as a hat or scarf?
Common items used to decorate a snowman include a hat, scarf, gloves, buttons, and carrot for the nose. These accessories not only add a festive touch to the snowman but also help bring it to life and enhance its appearance.
How do you complete the snowman by adding the finishing touches?
To complete the snowman and add the finishing touches, you can use items such as a hat, scarf, gloves, and a carrot for the nose. You can also add buttons or sticks for the eyes and mouth, as well as rocks to represent the snowman's smile. Lastly, adding a broom or branches for arms can give the snowman a more realistic appearance. Be creative and have fun personalizing your snowman!


Have something to share?
Who is Worksheeto?
At Worksheeto, we are committed to delivering an extensive and varied portfolio of superior quality worksheets, designed to address the educational demands of students, educators, and parents.


Comments